Last week I attended the Class III Rowing School put on by Northwest Rafting Company. The school involved 5 days on the Rogue River in southern Oregon where I learned basic oar boat whitewater skills. Here is a short highlight video. My detailed review of the trip is below the video.
Why did I sign up? Multi-day whitewater trips on the great rivers of the West are awesome opportunities for family adventure. But I don’t have any experience behind the oars in whitewater. So, I needed to start somewhere and professional instruction seemed like the most efficient route, particularly if I am going to be taking the kids along. Plus, it sounded awesome.
Students and Instructors: To my knowledge, this is the only whitewater rowing school where each student can row their own boat for five days. This “time on the sticks” proved essential to learning and I would not have had the same experience sharing a boat or spending less time on the water.
The class had 12 students, each in a 12-14 foot raft, three instructors who spent the days on the water with students, and two guides and one guide in training who ran the trip gear boats. For most of the time, we were split into three pods; each with four students and one instructor. We rotated instructors each day, so that every student had a chance to learn from each instructor.
We had a diverse group of students from late 20s to 75. I was either directly or indirectly connected with five of the other students. While everyone had their own personality, the overall vibe of the group was very positive and lighthearted.
We also had different experience levels from total beginners to people with some river experience in other craft, to a student who owned a raft and had spent many days behind the oars. I rowed a lightweight 13’ Sotar Rogue Tyee raft for the first two days then switched with my brother to row an older Sotar 4×4 for the rest of the trip.

It was nice to feel the difference in the super light Rogue versus a more traditional raft. Other students rowed Sotars or 14’ Wing boats. Each student boat carried the student’s personal gear in a big dry bag in the bow plus a smaller dry bag for items needed during the day. Each boat had oarlocks that could be released if the rower preferred the ability to feather the oars (I kept them locked as I had enough to think about already). The oars were heavy duty, which makes sense given that they took a beating. All of the boats were in good shape, although the Sotar 4x4s required some air each morning.
What I learned: The goal of the class is to teach basic skills to allow safe navigation of Class III whitewater. We had short lessons three times a day on various topics including reading rivers, scouting rapids, gear, multi-day trip planning, and safety.
On the water, the instruction focused on defensive rowing: setting the proper ferrying angle with respect to the current and then pulling. We were encouraged to get stable, determine what angle was needed to maneuver away from an obstacle or to cross an eddy line, pivot to that angle, and only then pull on the oars. This sounds like a simple skill, but once behind the oars in a rapid with varying water velocities acting on the different parts of the boat, it is not that easy – and is not instinctive. Specific skills and lessons that I learned:
Downstream oar management – This skill is one that I was not really focused on prior to the course as it is not that relevant to canoeing or packrafting, which is most of my river experience. Multiple students hit downstream oars on rocks during the class, but fortunately no one was injured or ejected from their boats. I avoided any problems, but learned to keep my downstream oar out of the water in rapids unless I was making a move and even then to be cognizant of water depth.
Using Eddies – The instructors emphasized identifying and entering and exiting eddies and using eddy boundary lines to safely control speed. This was the main focus of one entire day; essentially spending hours trying to catch almost every eddy. When I ran the bottom half of Blossom Bar on day four, I was competent enough at this skill that I played a game of ferrying across the river, catching an eddy and stopping, then picking my next eddy ferrying over and stopping. The ability to be moving fast down a rapid and then cross the top of a strong eddy line and come to a complete stop in seconds provides a great sense of control.
Boat Spacing – Another emphasized skill was proper boat spacing and boating as a team. On the first day, it was a disaster as we were bumping into each other or were way too spaced out. This situation significantly improved by day two, and by day three each pod did a good job of maintaining boat spacing. By the end I felt very comfortable maintaining proper spacing and maintaining the use of both oars even in close quarters.
Angles/Efficiency – My biggest takeaway was learning how to use the varying currents to control the raft efficiently. One day an instructor challenged us to put our rafts very close to obstacles and then to pivot off the obstacles and away from danger using only our upstream oar to change the boat angle in the current. This game allowed me to understand the concept of pillowing and to feel how the faster current in the middle of the river could grab the stern of the raft. Once I understood this concept, it was like a light went off. Now looking at rafting videos on YouTube, I can see how whether a raft makes or misses a move is largely determined by whether the boater has the boat on the proper angle to the current.
Skills not emphasized: This is a defensive Class III rowing course with a focus on fundamentals. We mainly avoided obstacles and did not play in big holes or waves. While more advanced skills were discussed, they were not part of the core curriculum.
Downstream Ferry – I had some opportunities to practice the downstream ferry on the last two days of the course. Timing was challenging for me hitting the top of an eddy while ferrying downstream.
Pushing Rapids and into Eddies – This was discouraged by our instructors most of the time. However, I did push a few eddies toward the end of the trip, particularly when I could judge that the eddy lines were relatively weak or when parking a boat with only a bowline in slow eddies.
Surfing Holes – There were a few chances to surf holes on the last two days, which I tried but had difficulty fully burying the bow of my raft. The best one was accessible by pushing up an eddy. I can see why this is fun.
What rapids did we row? Each student rowed every rapid between Galice and Foster Bar except the Rainey Falls Fish Ladder and the upper half of Blossom Bar. For the Fish Ladder, the instructors shuttled our rafts while we portaged mainly to avoid oar breakage. For the top of Blossom Bar, we sat in the back of our boats while an instructor rowed and narrated the move.
Confidence level after the class: Based on what I learned and practicing in actual river conditions, I am confident that I can: (1) read a Class III rapid (via scouting if necessary), (2) identify the obstacles and hazards in the rapid, (3) identify a line, and (4) navigate my line using defensive rowing techniques. I would go on a private trip on the Rogue or similar Class III western river.
I would not be confident on a Class IV rapid without a guide or other knowledgable person with experience on that river. But I would attempt a Class IV rapid under certain circumstances. For example, Blossom Bar is a Class IV rapid. After being in the boat with an instructor talking me through the move, I would be willing to run it on my next Rogue trip as I think catching the eddy is within my skillset and I understand the danger of going into the Picket Fence. Of course, different river conditions like high water might change this assessment.
One of the big things that this class opened my eyes to is knowing what I know and also knowing what I don’t know. Not just identifying the line, but understanding why the line is where it is given the current conditions what might happen if I miss the line. There is a difference in taking a calculated risk and getting in a dangerous situation without even realizing that it is dangerous. This class helped me think of rapids in a way that minimizes risk, which I like.
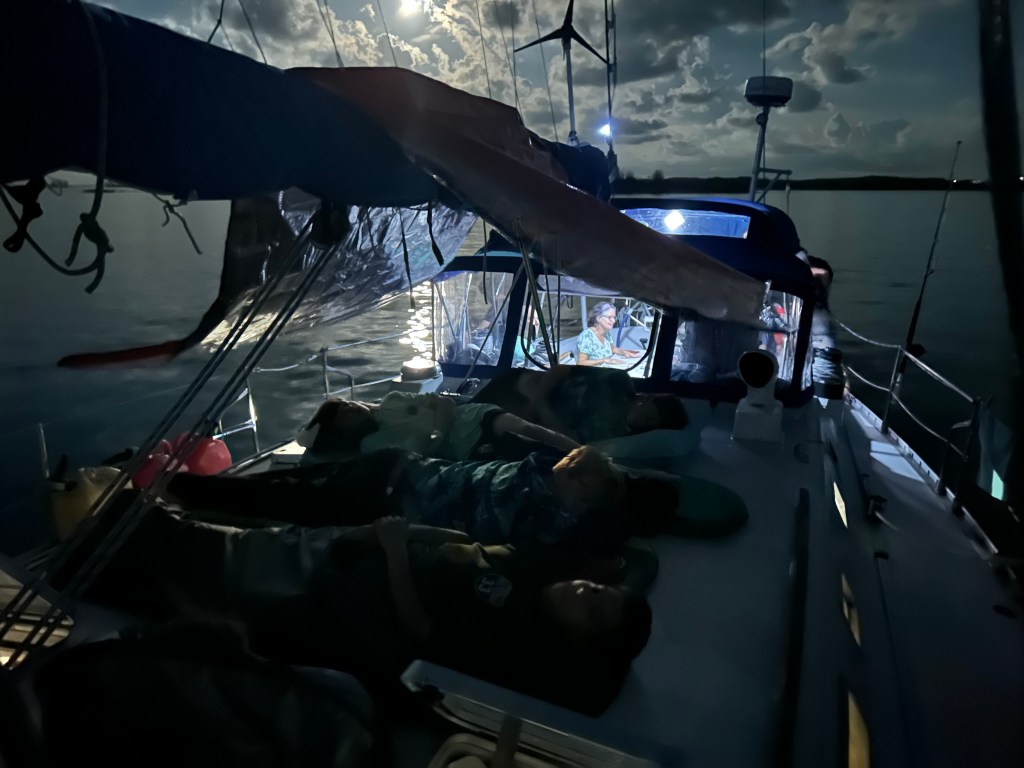
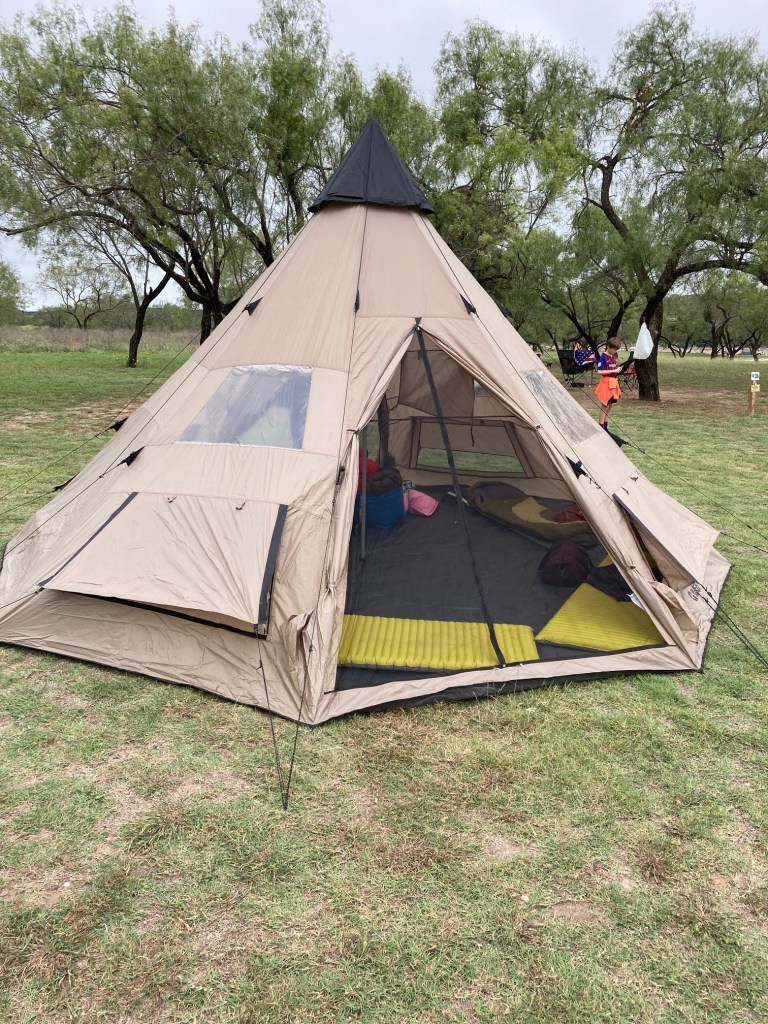
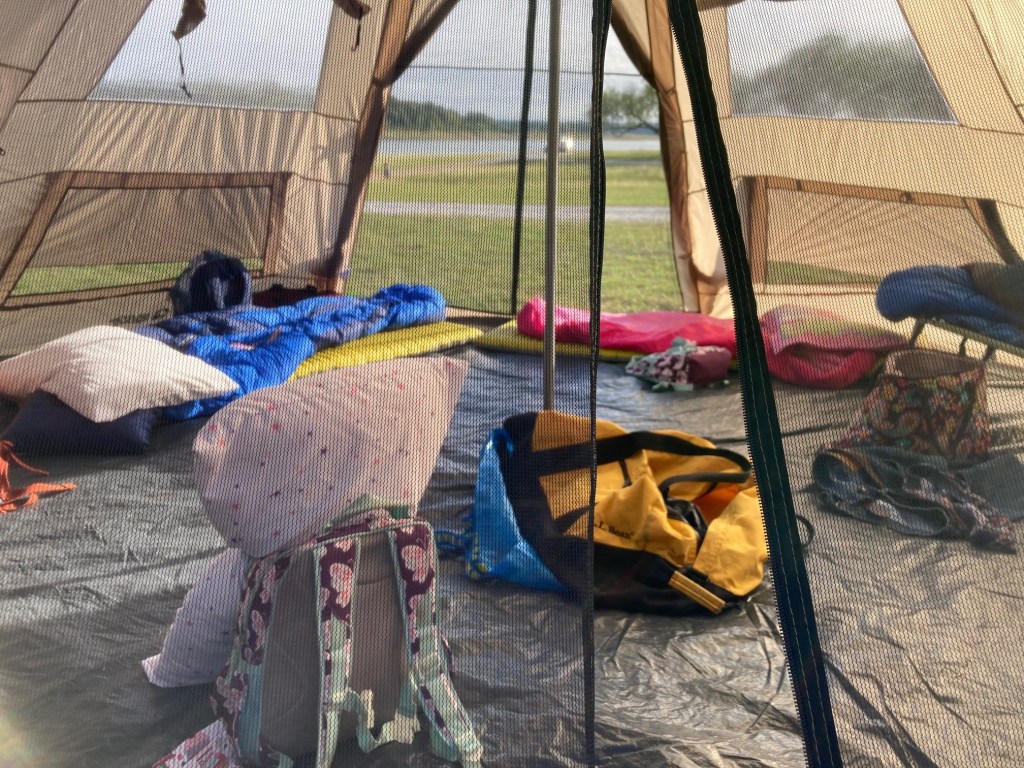
Camping/Food: The food was amazing, and all of our guides and instructors were a ton of fun. I had never been on a multiday commercial trip and coming from an ultralight backpacking background, I was blow away by the glamping. Simply outstanding.

Wildlife: We saw Bald Eagles, Osprey, deer, leaping Sturgeon, and snakes, including one intrepid Rattlesnake that climbed in my buddy’s boat. Exciting!
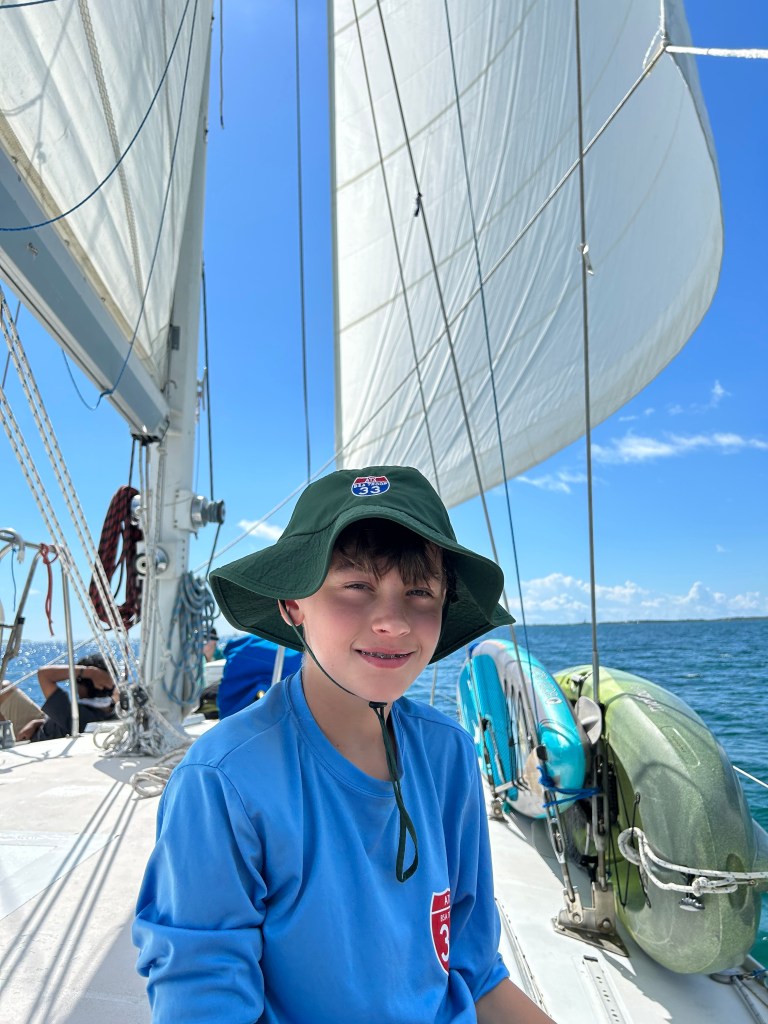
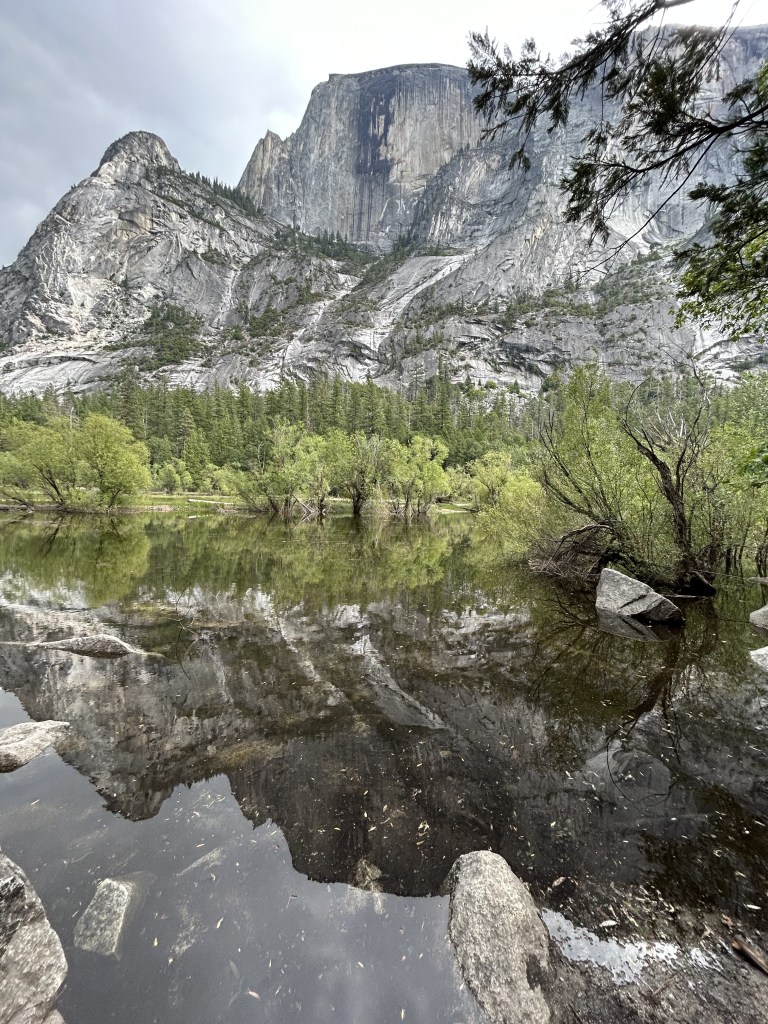
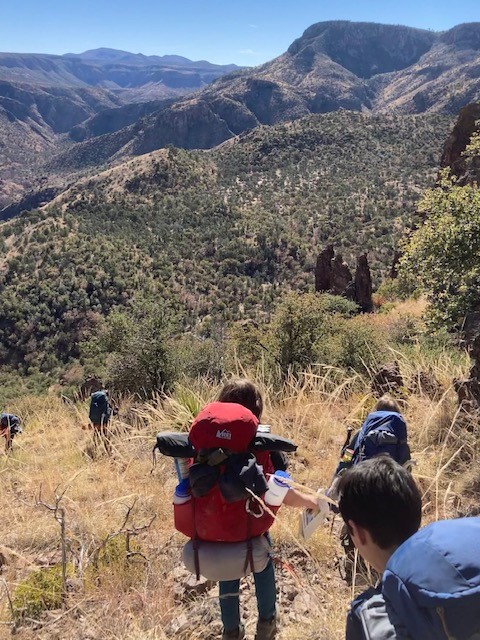
Scenery: The whole course is on the Wild and Scenic Rogue River.

Travel: From Texas it takes an entire day to get there and a day to get home. The trip starts at the Galice Resort, which is about a 2 ½ hours from Eugene and 1 hour from Medford. We flew in/out of Eugene because Medford’s flights were limited. Once you drive to Galice, you can store your vehicle there for the duration of the trip as participants are shuttled back at the end via a 2 ½ hour drive over the mountains.
What did I not like? Nothing. They have the class dialed in. It is not cheap, but it is a high value. I learned more about safely rafting whitewater in five days that I would have in five years of DIY trips in a safer manner and at lower cost.
Suggestions: This type of class is a blend of education and fun which I find very appealing, and I wish there were more opportunities like this. I don’t really have a desire to go on a raft trip where I am not on the oars. This may be an untapped market and I hope Northwest Rafting and other outfitters consider offering similar trips on other rivers.
What is next? Will likely enter some Class III river lotteries for next summer and try to run a 3-4 day family trip. The course instructors gave us a list of rivers appropriate for our skill level and for a first private trip, including the Rogue.
In sum, this was a very very fun time and I cannot recommend it enough if you have interest in learning how to handle a whitewater oar boat. If you have any questions, please leave them below. More info on the class is on the Northwest Rafting website.